
Taula de continguts:
- Autora John Day day@howwhatproduce.com.
- Public 2024-01-30 08:15.
- Última modificació 2025-01-23 14:38.

Requisit:
- Raspberry Pi
- BreadBoard o T-Cobbler
- Filferros de pont
- LED
Feu clic aquí per obtenir més informació
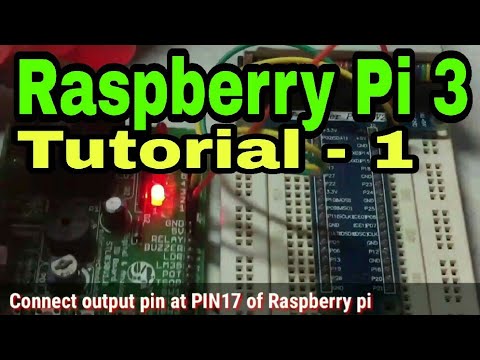
Pas 1: connecteu el vostre Raspberry Pi GPIO amb LED a la placa de pa o al tauler multifunció

Ara, segons el vídeo, podeu utilitzar el número 27 com a sortida i connectar GND amb el terminal GND del led, Assegureu-vos que la vostra connexió GPIO sigui correcta.
Pas 2: Configuració
Connecteu el LED a la panaderia o al sabater com a vídeo adjunt.
Pas 3: instal·leu les biblioteques GPIO
$ sudo apt-get update
$ sudo apt-get install python-rpi.gpio python3-rpi.gpio
Pas 4: programa
importar RPi. GPIO com a GPIO
temps d'importació
LedPin = 11 # pin11
def setup ():
GPIO.setmode (GPIO. BOARD) # Numera els GPIO per ubicació física
GPIO.setup (LedPin, GPIO. OUT) # S’estableix el mode de LedPin
GPIO.output (LedPin, GPIO. HIGH) # Estableix LedPin alt (+ 3,3 V) per encendre el led
parpelleig definitiu ():
mentre que és cert:
GPIO.output (LedPin, GPIO. HIGH) # encès
dormir (1)
GPIO.output (LedPin, GPIO. LOW) # led off time.sleep (1)
def destroy ():
GPIO.output (LedPin, GPIO. LOW) # desactivat
GPIO.cleanup () # Recurs de llançament
si _nom_ == '_principal_':
setup ()
provar:
parpellejar ()
excepte KeyboardInterrupt:
destruir ()
Recomanat:
Parpelleig LED StickC M5Stack: 7 passos

StickC M5Stack LED Blink: en aquest projecte aprendrem a connectar i fer un LED Blink mitjançant un mòdul M5StickC ESP32
Parpelleig LED mitjançant 555 IC: 5 passos

Parpelleig LED mitjançant 555 IC: Hii amic, avui faré un parpelleig LED mitjançant el temporitzador IC 555. Comencem
Tutorial Arduino Uno # 1 - Programa bàsic de parpelleig: 4 passos

Tutorial Arduino Uno # 1 - Programa bàsic de parpelleig: Hola a tothom, estic content de publicar el meu primer instructable. Aquesta idea se’m va ocórrer quan tenia dificultats perquè el meu Arduino Uno funcionés, així que, com que tenia algunes dificultats, faré una explicació a tots els noobies d’aquí que, com jo, no sé muc
Tutorial casolà sobre el tresor sobre la càrrega del telèfon mòbil: 7 passos

Tutorial de tresor de càrrega de telèfons mòbils casolans: crec que molts socis petits són grans usuaris de telèfons mòbils. Per tal d’evitar la pèrdua sobtada d’energia del telèfon mòbil, cal preparar-vos un tresor de càrrega per a vosaltres mateixos. Comparteix un dispositiu que pugui carregar el telèfon
Parpelleig LED Raspberry Pi: 5 passos (amb imatges)
")
Raspberry Pi LED Blink: Ara, aprendreu el projecte més senzill que podeu construir amb un raspberry pi. Si ara no ho sabeu, estic parlant del programa de parpelleig, tal com es veu a l’arduino. Estic fent servir algunes coses molt habituals que podeu aprendre al proper